Using diode laser engraving to carve out difficult designs and personalize fonts on different surfaces is now a new standard across the industry. Although more and more people are incorporating this technology into the DIY niche, one difficult thing is performing deep engraving, which is in high demand in today's market. This is why there is an online query trend on the SERP engine "How to reverse the depth design of laser engraving".
In this technique, a design outline (also known as a positive film) is used, which is cut into the existing material to make it appear as if the design is raised from the surface. The same old diode laser engraving technology needs to be used to provide the correct depth to the image and ensure the cut is correct.
It's the next generation of laser engraving technology, typically using wood, acrylic, stone, and certain metals. Materials such as SLATE, granite, and high-density wood are known to produce excellent reverse-depth carving. While it sounds cool, executing it is a daunting task. Here is how to reverse the depth design of laser engraving of a certain material:
1. Create or download designs: All created designs are not suitable for reverse deep engraving, which is why making and finding one is the way forward. In all designs, such as those with sharp contours and fewer internal elements, the most suitable for reverse engraving. Geometric graphics, logos, and occasionally typographic design all fall into this category.
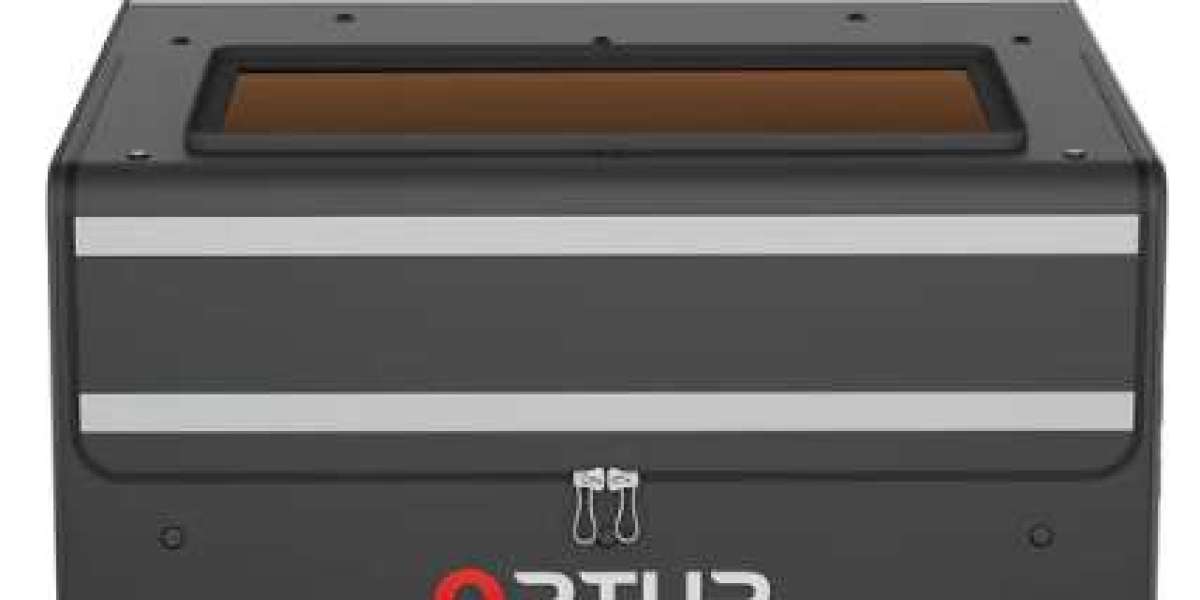
2. Background/Selection Design: Common software such as Adobe Illustrator and CorelDRAW are great assistants to get the design ready for the application, but sometimes diode laser hardware is not optimized for such software. The Ortur LM3 comes with its software package, which is optimized for novices and provides a great deal of control in projects using techniques such as reverse engraving.
That being said, once you import the right design in the design/laser engraving software, simply find the inversion or inversion function option in the software to easily switch the depth.
3. Parameters of the diode laser cutting machine: This is important because these parameters are set according to the material you use for this engraving technique. That is, each material responds differently to laser power and speed Settings. You have to look at this in terms of your larger hardware and the materials you use.
For example, if you are using stone as a substrate, you will need a high power setting and a low speed on the laser module, usually set to 80-100% maximum power and 10-30% maximum speed.
4. Reverse engraving execution: In addition to the raster engraving technology that must be used, the rest of the process is a fairly standard engraving process, and raster engraving technology is the most effective technology for reverse depth design. In this technique, the diode laser moves back and forth over the material, removing the background and leaving the vectorized design in the original design file unchanged (remember the mask carving scene in Mission Impossible - Ghost Protocol?).
Okay, this is now the same as sci-fi laser cutting, but you get the idea. Once done, use compressed air or soft clothing to remove any debris. If you're using wood, use a sanding block, which can also be used to polish raised design edges. In addition, the wood is coated with a clear coating (the stone surface is coated with wax) to improve the durability of the carving, which is especially important when making such items for e-commerce platforms.
Common errors and tips
Now that we have laid the foundation for answering the trend question of how to reverse diode laser engraving depth design, DIYers still make mistakes on these DIY projects that lead to poor results, we recommend checking for the following three common mistakes:
1. Most people get bad results because they don't pay attention to the contrast of the design. Make sure the sculpted background and raised design have enough contrast, which can be improved by staining or painting the sculpted area. Also, always use vector files or high-resolution artwork for best results.
2. Use multiple layers of depth in your design, which increases complexity and execution time, but the result is satisfactory.
3. For such an expensive project, always use reliable diode laser hardware, for this we recommend the Ortur H10 laser cutter and engraver with industry-leading 0.01mm accuracy and 20-watt ultra-precision laser modules, all of which are equipped with next-generation safety systems that are ideal for reverse engraving projects. In addition, you can get the software Inspiraesth from the OEM, which is optimized for such projects and is very beginner-friendly.
Search
Popular Posts
