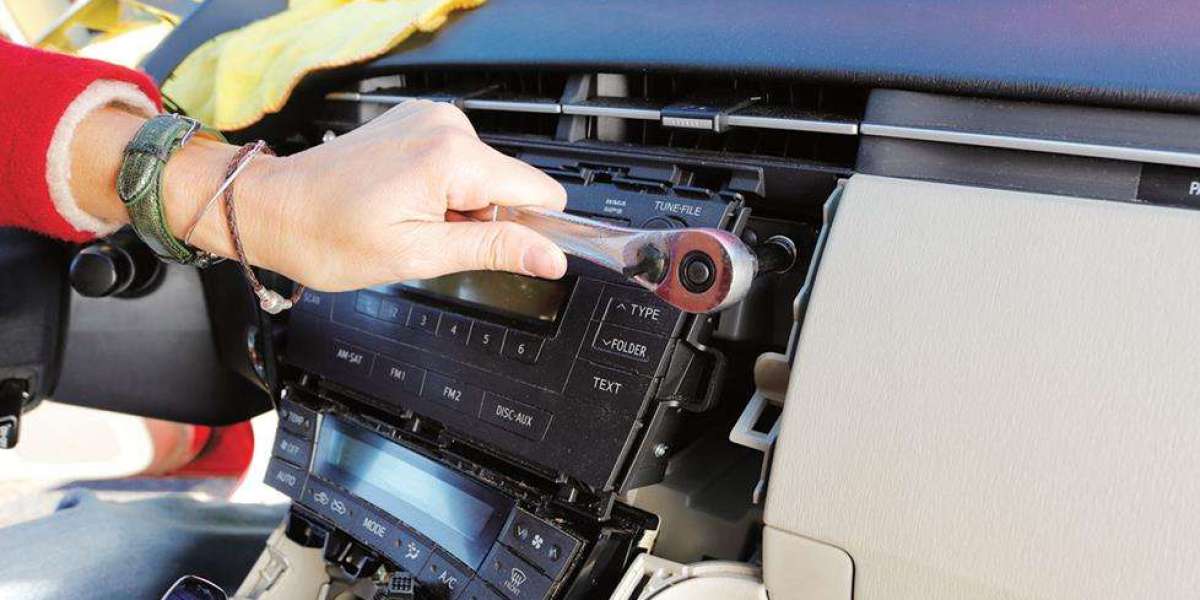
Installing a new car stereo system can be an exciting upgrade that enhances your driving experience with better sound quality, additional features, and improved functionality. However, a poorly executed installation can lead to issues such as poor sound quality, electrical malfunctions, or even permanent damage to your car’s electrical system. To ensure a smooth and successful auto car stereo installation, follow these ten essential tips.
1. Choose the Right Stereo System for Your Vehicle
Before starting your installation, it is crucial to select a stereo system that is compatible with your car. Consider the following factors:
Size (Single-DIN or Double-DIN): Check your dashboard space to determine if you need a single-DIN or double-DIN stereo.
Compatibility: Ensure the new stereo integrates well with your car’s existing wiring and dashboard layout.
Features: Decide if you need features like Bluetooth, GPS navigation, Apple CarPlay, Android Auto, or satellite radio.
Power Output: Match the stereo’s power output with your speakers for optimal sound quality.
2. Gather the Necessary Tools and Accessories
Having the right tools and accessories will make your auto car stereo installation process smoother and more efficient. Essential tools include:
Screwdrivers (Phillips and flat-head)
Wire strippers and crimping tools
Soldering iron (for secure wire connections)
Panel removal tools (to safely remove dashboard panels)
Electrical tape or heat shrink tubing
Wiring harness adapter (to simplify wiring connections)
3. Disconnect the Car Battery Before Starting
For safety reasons, always disconnect the car battery before beginning the installation. This will prevent any accidental electrical shorts that could damage the stereo system or your car’s wiring.
4. Use a Wiring Harness Adapter
A wiring harness adapter is a crucial accessory that simplifies the connection between the new stereo and your car’s existing wiring. Instead of manually splicing wires, a harness adapter allows for a plug-and-play connection, reducing installation time and minimizing the risk of wiring errors.
5. Secure All Wiring Properly
Loose or poorly connected wires can lead to audio disruptions, power issues, and potential short circuits. To ensure a stable connection:
Use crimp connectors or solder and heat shrink tubing instead of just twisting wires together.
Keep wires organized and secure them using zip ties or electrical tape.
Avoid running wires near heat sources or sharp metal edges that could cause damage.
6. Properly Mount the Stereo Unit
Once the wiring is connected, ensure that the stereo unit is properly mounted in the dashboard. A loose installation can cause rattling noises, vibrations, or even damage over time. Follow these steps:
Use the stereo’s mounting brackets and screws for a secure fit.
Test fit the unit before finalizing the installation to ensure it sits flush with the dashboard.
Reinstall any removed dashboard panels carefully to avoid breaking clips or connectors.
7. Connect and Test All Features Before Finalizing
Before reassembling the dashboard, it is important to test the stereo system to ensure all features are functioning correctly:
Power on the stereo and verify that it turns on and off properly.
Check sound quality and speaker balance to ensure proper connections.
Test Bluetooth, USB, AUX, and other connectivity features.
Adjust settings such as equalizer, balance, and fader for optimal sound performance.
8. Upgrade Your Speakers for Better Sound Quality
If you want to maximize the benefits of your new stereo system, consider upgrading your car speakers. Factory-installed speakers often do not deliver the best audio quality, so installing high-quality aftermarket speakers can significantly enhance the listening experience.
Match the speakers’ power handling with the stereo’s output.
Choose speakers with higher sensitivity ratings for better sound clarity.
Opt for coaxial or component speakers for improved frequency response and sound separation.
9. Avoid Common Installation Mistakes
Many DIY installers make simple mistakes that can lead to poor performance or long-term issues. Avoid the following:
Not securing the wiring properly: Loose wires can cause shorts or electrical failures.
Skipping the wiring harness adapter: Directly splicing wires can lead to incorrect connections and future malfunctions.
Ignoring ground wire connections: A poor ground connection can cause buzzing or poor stereo performance.
Forgetting to check fuse ratings: Ensure the fuse matches the stereo’s power requirements to avoid overloading the circuit.
10. Seek Professional Help If Needed
If you encounter difficulties during your auto car stereo installation, do not hesitate to seek professional help. Car audio specialists have the experience and tools to ensure a seamless installation. Additionally, professional installation may come with warranties that protect against any future issues.
Conclusion
A successful auto car stereo installation requires careful planning, the right tools, and attention to detail. By following these ten tips, you can enjoy high-quality sound, seamless functionality, and a professional-looking installation. Whether you choose to do it yourself or seek professional assistance, ensuring proper installation will enhance your overall driving experience and allow you to make the most of your new stereo system.


